Understanding Durban’s Plumbing Landscape
- Water Pressure Variations: Durban experiences fluctuating water pressure. Before you start, check your home’s water pressure to ensure it meets toilet requirements. Installing a pressure regulator can help maintain consistent performance.
- Humidity and Corrosion: Durban’s coastal humidity makes metal plumbing components susceptible to rust and corrosion. Opt for corrosion-resistant materials like PVC or stainless steel to prolong the lifespan of your plumbing.
- Aging Drainage Systems: Many older homes in Durban have aging drainage systems. Be prepared to inspect and potentially replace sections of your drainage pipes to ensure proper flow and prevent blockages.
- Local Regulations: Adhere to South African National Standards (SANS 10252 & 10254) for water supply and drainage. Make sure everything all work complies with eThekwini Municipality’s plumbing regulations. Obtaining necessary permits is crucial before you start.
Tools and Materials You’ll Need
- Adjustable wrench
- Plumber’s tape (Teflon tape)
- Pipe cutter (for PVC or copper, depending on your pipes)
- Measuring tape
- Level
- New toilet and wax ring
- Flexible water supply line (stainless steel recommended)
- Flange bolts (stainless steel recommended)
- Safety glasses
- Gloves
- Drain snake (Optional, but recommended)
Step-by-Step Installation
- Shut Off the Water: Locate the water supply valve behind the existing toilet. Turn it clockwise to shut off the water. Flush the toilet to empty the tank completely. Use a sponge to remove any remaining water from the tank and bowl.
- Disconnect the Old Toilet: Disconnect the water supply line from the toilet tank. Remove the bolts securing the toilet to the floor flange. Gently rock the toilet to break the wax seal and lift it away. Place the old toilet on a drop cloth to prevent damage to your floor.
- Prepare the Flange and Drainage: Clean the flange thoroughly, removing any old wax or debris. Inspect the flange and surrounding drainage pipe for damage or corrosion. Replace any damaged components. If the drainage pipe is old or showing signs of damage, consider replacing it with a new PVC pipe.
- Install the Wax Ring: Place the new wax ring evenly onto the flange. Ensure it is centered and firmly seated.
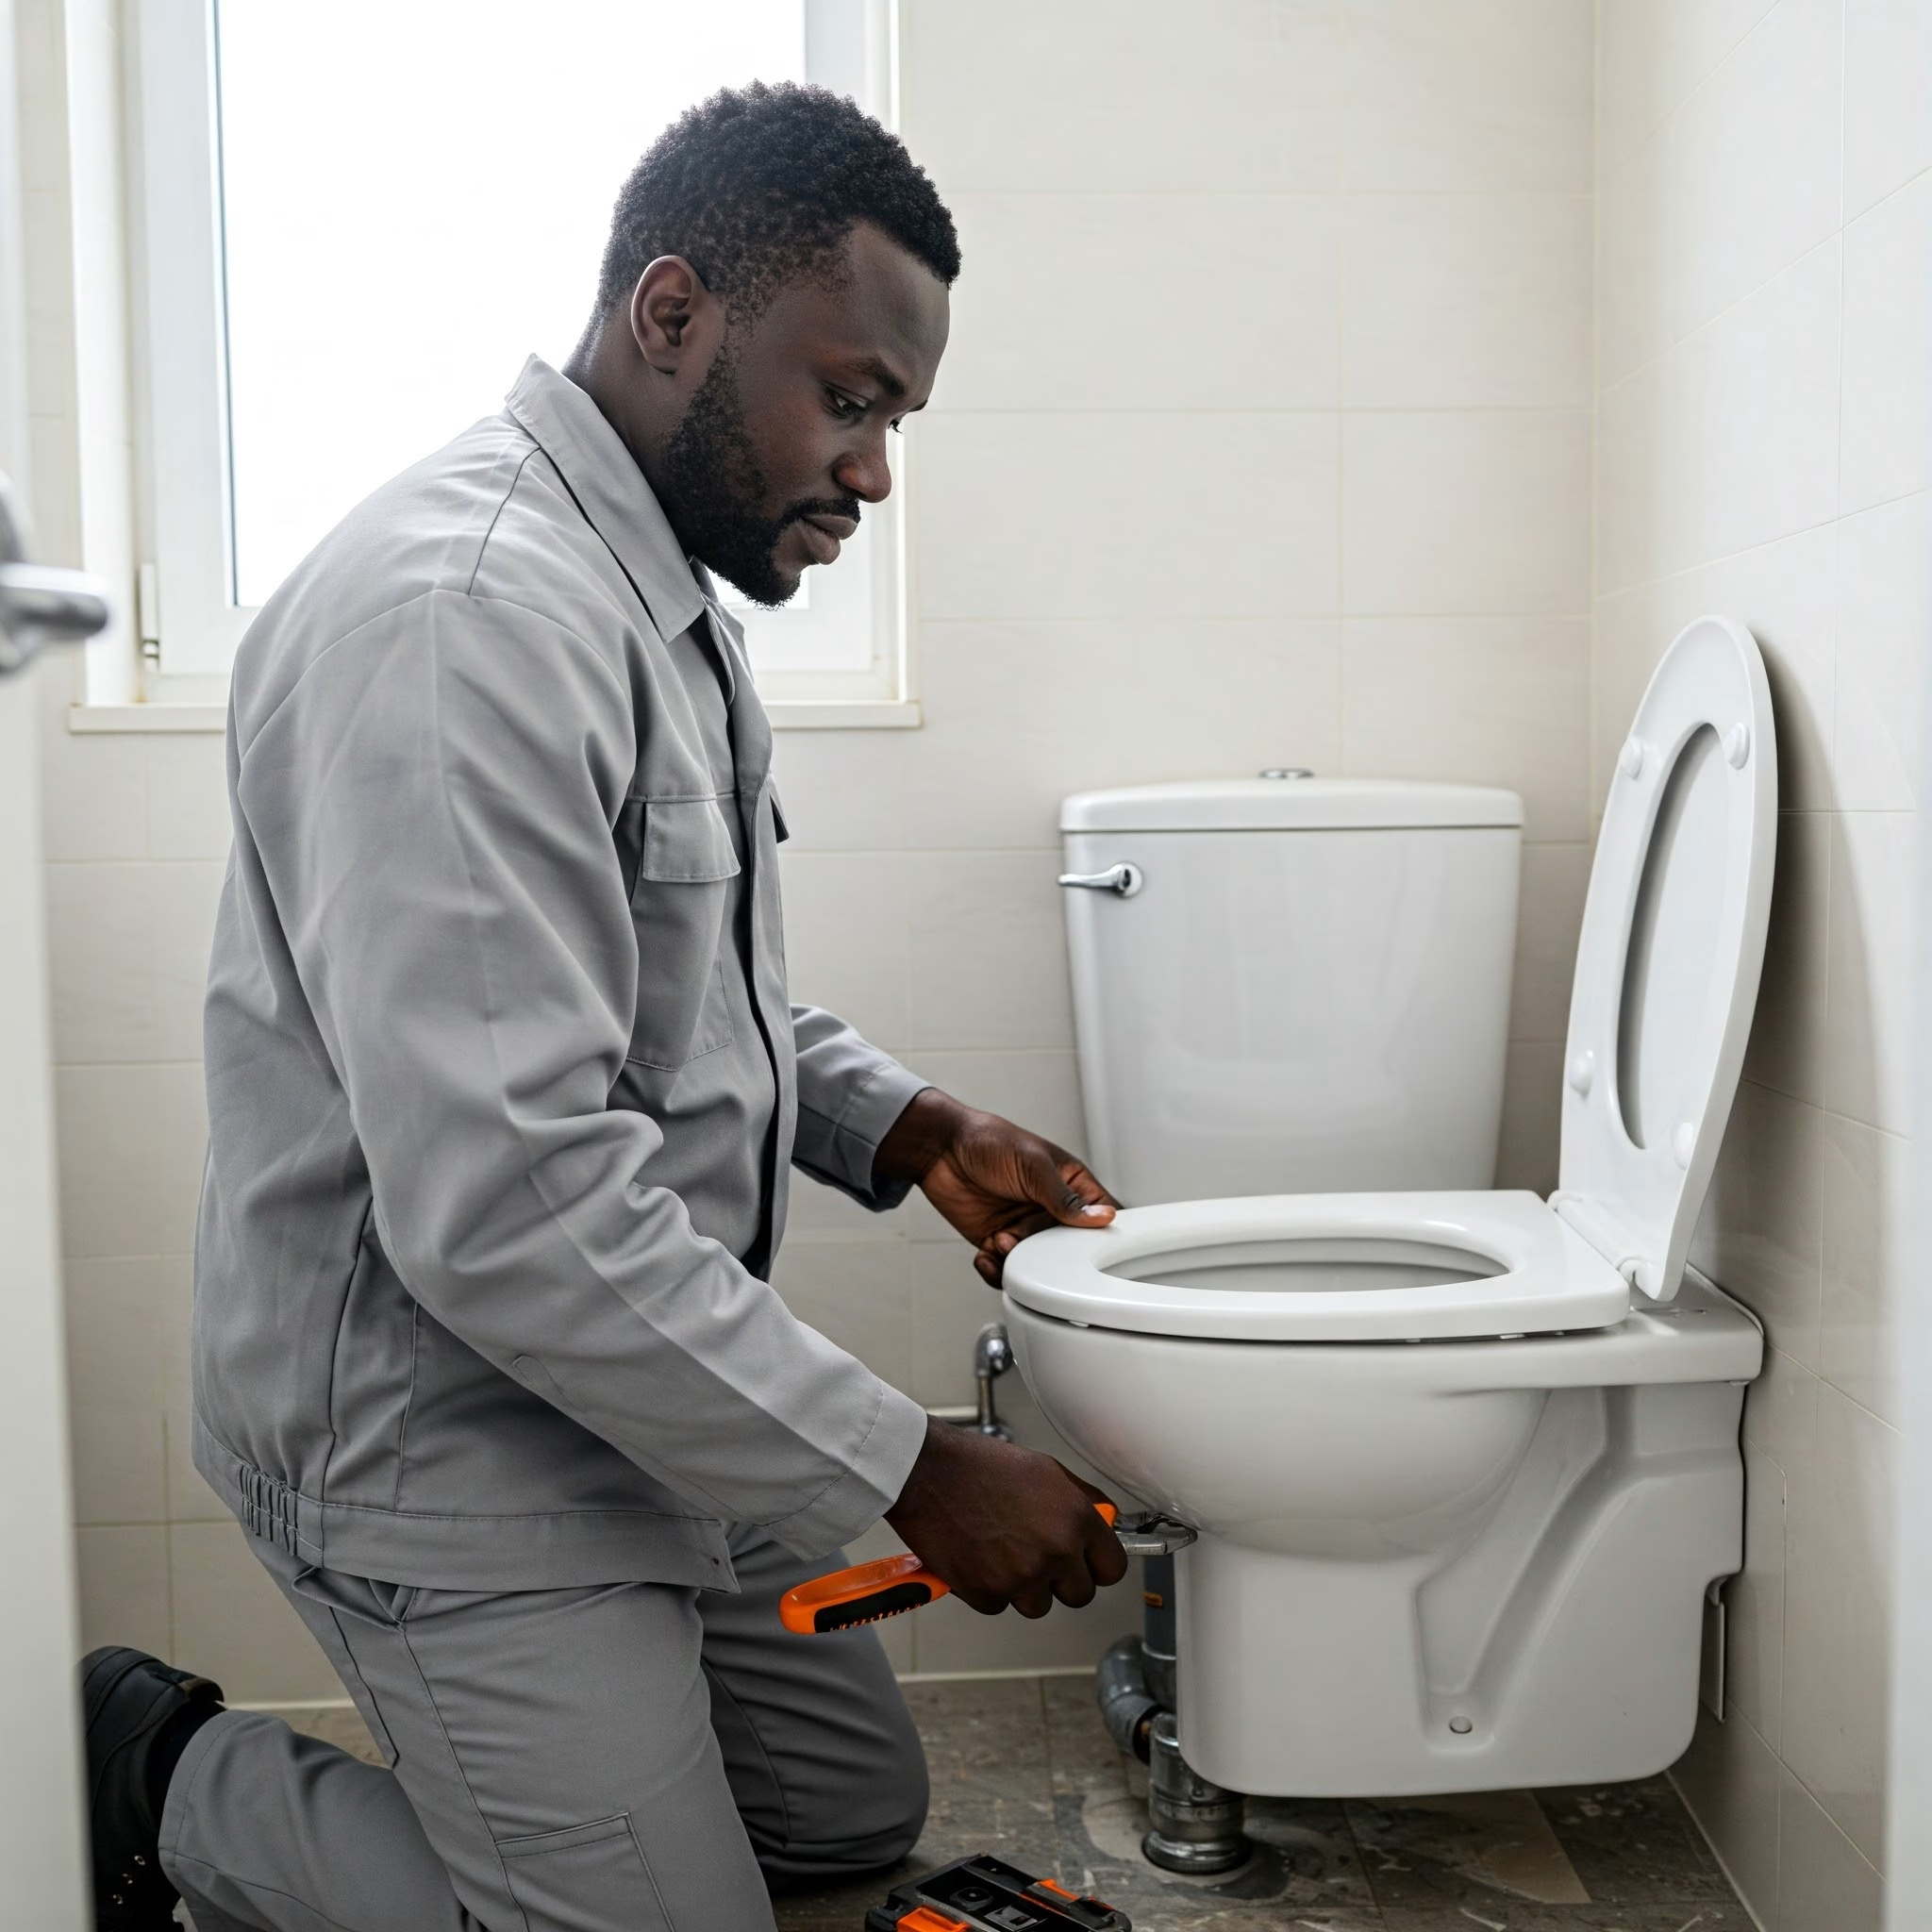
- Position the New Toilet: Carefully lower the new toilet onto the flange, aligning the bolt holes. Apply even, downward pressure to create a tight seal with the wax ring.
- Secure the Toilet: Insert the flange bolts and tighten them alternately, ensuring the toilet sits level. Do not overtighten, as this can crack the porcelain. Use stainless steel bolts to prevent future corrosion.
- Connect the Water Supply: Attach the new flexible water supply line (stainless steel) to the toilet tank and the water supply valve. Use plumber’s tape on the threads to prevent leaks. Tighten the connections securely, but avoid overtightening.
- Level and Test: Use a level to ensure the toilet is perfectly level in all directions. Adjust as needed by using shims. Turn on the water supply and check for leaks at all connections. Flush the toilet several times to ensure proper operation and check for any drainage issues.
Tips for Success
- Measure Twice, Cut Once: Accurate measurements are crucial for a successful installation.
- Use Quality Materials: Invest in high-quality plumbing supplies to ensure durability and prevent leaks.
- Seek Professional Help: If you encounter any difficulties or feel unsure, don’t hesitate to consult a qualified plumber in Durban.
- Safety First: Always wear safety glasses and gloves when working with plumbing.
Conclusion
Installing a toilet is a manageable DIY project that can save you money and provide a sense of accomplishment. By following these steps and considering Durban’s specific plumbing conditions, you can achieve a successful installation. Remember to always prioritize safety and adhere to local regulations.
Commonly asked questions
1. How much should it cost to have a toilet installed?
ranges from R1,500 to R4,500, depending on factors like the type of toilet, complexity of the installation, and location. Additional costs may apply for plumbing or replacement of old components.
2. Are you allowed to install your own toilet?
Yes, you are allowed to install your own toilet in South Africa, as long as you comply with local plumbing regulations. However, it’s recommended to hire a professional plumber to ensure the installation is done correctly and safely.

Leave the Toilet Troubles to Us – Because Some Jobs Are Better Left to the Pros!
Need help installing your toilet? If you’d rather leave it to the professionals, contact us today! Our team is ready to ensure a smooth and hassle-free installation, so you can enjoy peace of mind knowing the job is done right.


Recent Comments